If you’re new to Minecraft, one of the biggest challenges you’ll face is making it through your very first night. As the sun sets, dangerous mobs like zombies, skeletons, spiders, and creepers begin to spawn, ready to attack unprepared players. But don’t worry—this guide will walk you step by step through everything you need to do to survive the night and set yourself up for long-term success.
Why Surviving the First Night Matters
Minecraft’s day-night cycle is about 20 minutes long: 10 minutes of daytime, 7 minutes of night, plus short dawn and dusk periods. During the day, you’re safe to explore, gather resources, and craft items. At night, however, hostile mobs appear in the dark.
If you don’t prepare, you’ll likely be overwhelmed. Surviving your first night is the first milestone every beginner should aim for—it proves you can gather resources, craft tools, and build shelter effectively.
Step 1: Gather Essential Resources
Your very first task is to gather wood, stone, and food before the sun goes down.
- Punch trees to collect logs.
- Craft planks and then a crafting table.
- Make some wooden tools (pickaxe, axe, sword).
- Mine stone to quickly upgrade to stone tools.
- Collect coal for torches (or make charcoal in a furnace).
🔑 Pro Tip: Mark your spawn point with a tall dirt pillar or note your coordinates. If you die, this helps you find your way back.
Step 2: Craft Basic Tools and Weapons
You don’t need every tool right away, but some are essential:
- Pickaxe (to mine stone, coal, and ores).
- Axe (to cut wood faster).
- Sword (for protection).
- Furnace (to cook food and smelt ores).
If you’re lucky enough to find iron before nightfall, make a shield—it’s one of the best defensive tools in Minecraft.
Step 3: Understand Mob Behavior
Knowing how hostile mobs work gives you an edge:
- Spawn mechanics: Mobs spawn in low-light areas (light level 0).
- Daylight effects: Zombies and skeletons burn in sunlight, but spiders, creepers, Endermen, and illagers remain dangerous even during the day.
- Avoidance strategy: If you can’t fight, simply staying hidden or underground is enough to survive.
Step 4: Find or Build a Shelter
When night approaches, you’ll need a safe place to hide from mobs. You have a few quick options:
- Dig into a hillside or mine into stone to make a cave base.
- Build a dirt or wooden hut (fast but temporary).
- Take over a village house if you stumble upon a village.
Make sure your shelter is sealed with walls, a roof, and a door. Place torches inside to prevent mobs from spawning.
💡 Lighting Rule: No block inside your shelter should be more than 6 blocks away from a torch, or mobs might spawn in the dark corners.
Optional: Smelt sand into glass to make a window—this lets you safely check if it’s daytime outside.
Step 5: Secure Food Sources
Food is essential for keeping your hunger bar full, which allows your health to regenerate. On your first day, look for:
- Animals (cows, pigs, sheep, chickens).
- Berries, apples, or mushrooms if animals are scarce.
- Seeds you can plant later for farming.
Cook raw meat in your furnace to make it more filling and safe to eat.
Step 6: Light Up Your Base
Hostile mobs spawn in dark areas, so lighting is one of the best defenses. Craft torches using sticks + coal (or charcoal).
- Place torches inside your shelter.
- Light the entrance and surrounding area if possible.
- Keep extra torches for exploring caves later.
Step 7: Wait Out the Night
Once your shelter is secure, you’re safe. Now you can:
- Organize your inventory.
- Craft extra tools or weapons.
- Plan your next adventure (mining, farming, exploring).
Alternative strategy: Start mining underground. Many experienced players recommend spending the first night mining stone, coal, and iron rather than sitting still. This way, you stay safe and productive at the same time.
If you managed to collect wool from sheep, you can craft a bed and skip the night entirely by sleeping.
Common Mistakes Beginners Make
- Staying outside too long—don’t risk being caught when mobs spawn.
- Forgetting torches—dark shelters can spawn mobs inside.
- Not gathering enough wood/stone—always collect more than you think you’ll need.
- Ignoring food—running out of hunger makes survival much harder.
🗂️ Minecraft First Night Survival Quick Guide
| Before Nightfall (Daytime Tasks) | During the Night (Stay Safe) |
|---|---|
| 🌳 Punch trees for wood → craft planks & sticks | 🛡 Stay inside your shelter until sunrise |
| 🛠 Craft a crafting table & stone tools | 📦 Organize your inventory & craft extra tools |
| ⛏ Mine stone & collect coal (or make charcoal) | 🔦 Keep your shelter lit with torches (≤6 blocks apart) |
| 🍖 Gather food (hunt animals, berries, apples) | ⛏ Dig underground to mine resources safely |
| 🏠 Build a simple shelter (hut, cave, or village house) | 🛏 Sleep in a bed if you have wool (skip night) |
| 🔦 Place torches around your shelter | 🎯 Plan your next day (mining, farming, exploring) |
Final Thoughts
Surviving your first night in Minecraft might feel intimidating, but with the right preparation, it’s completely doable. Focus on gathering resources, crafting tools, building shelter, and staying safe until sunrise.
Remember: you don’t always have to fight. Many players choose to mine underground during the night, turning survival time into progress. Once you’ve made it through, the real adventure begins—exploring caves, farming, enchanting, and building your dream world.
Looking for your next steps? Check out our guides on farming, mining, and exploring Minecraft’s different biomes!
Day 2 Bonus Tips
What to Do on Day 2 in Minecraft (Survival Tips)
Now that you’ve survived your first night, it’s time to start building long-term stability. Here are the best things to focus on when the sun rises:
1. Upgrade Your Tools
- Mine more stone and look for iron to craft stronger tools.
- Make an iron pickaxe so you can eventually mine valuable ores like gold, redstone, and diamonds.
2. Improve Your Shelter
- Expand your small hut or cave into a more permanent base.
- Add chests for storage and a bed to set your spawn point.
- Consider building windows and multiple rooms for organization.
3. Establish a Steady Food Source
- Start a small farm using seeds, wheat, or potatoes.
- Breed animals like cows, pigs, or chickens for renewable food.
- Collect water with a bucket (if you have iron) to hydrate crops.
4. Explore Carefully
- Explore nearby caves for iron, coal, and other resources.
- Craft armor as soon as you have enough iron for extra protection.
- Place torches as you go to avoid getting lost or overwhelmed by mobs.
5. Plan for the Future
- Start gathering materials for more advanced builds (fences, farms, storage rooms).
- Set goals: enchanting, nether exploration, or building your dream house.
✅ Tip: Many players use the second day to start mining seriously. Aim for at least a full set of iron tools and armor within your first few days for a much safer adventure.
📊 Minecraft Survival Priorities: Day 1 vs Day 2
| Day 1 Goals (First Survival) | Day 2 Goals (Long-Term Setup) |
|---|---|
| 🌳 Gather wood, stone, and coal | ⛏ Collect iron for tools & armor |
| 🛠 Craft basic stone tools & furnace | ⚔ Craft iron pickaxe & weapons |
| 🏠 Build a simple shelter (hut, cave, or village house) | 🏡 Expand shelter into a permanent base with storage |
| 🔦 Place torches inside & outside shelter | 💡 Add windows, extra lighting, and organization |
| 🍖 Hunt animals, gather berries/apples | 🌾 Start a small farm & breed animals for food |
| 🛡 Hide or mine safely through the night | 🗺 Explore caves & surface areas for resources |
| 🛏 (Optional) Craft a bed to skip night | 🎯 Set future goals (enchanting, Nether prep, advanced builds) |
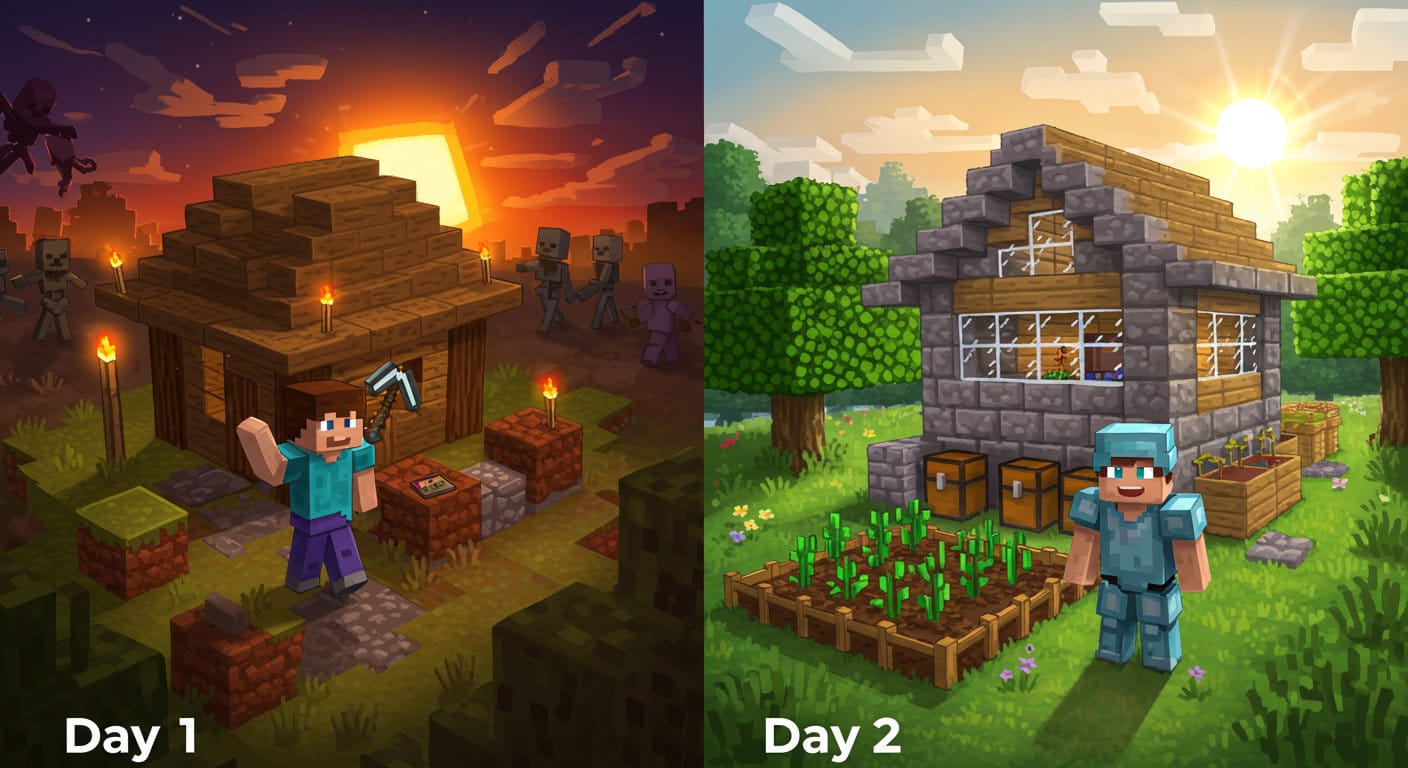
✅ Quick Recap:
- Day 1 = Survival & Safety (don’t die, gather basics).
- Day 2 = Stability & Progress (upgrade gear, farm, explore).