What a shield pattern is
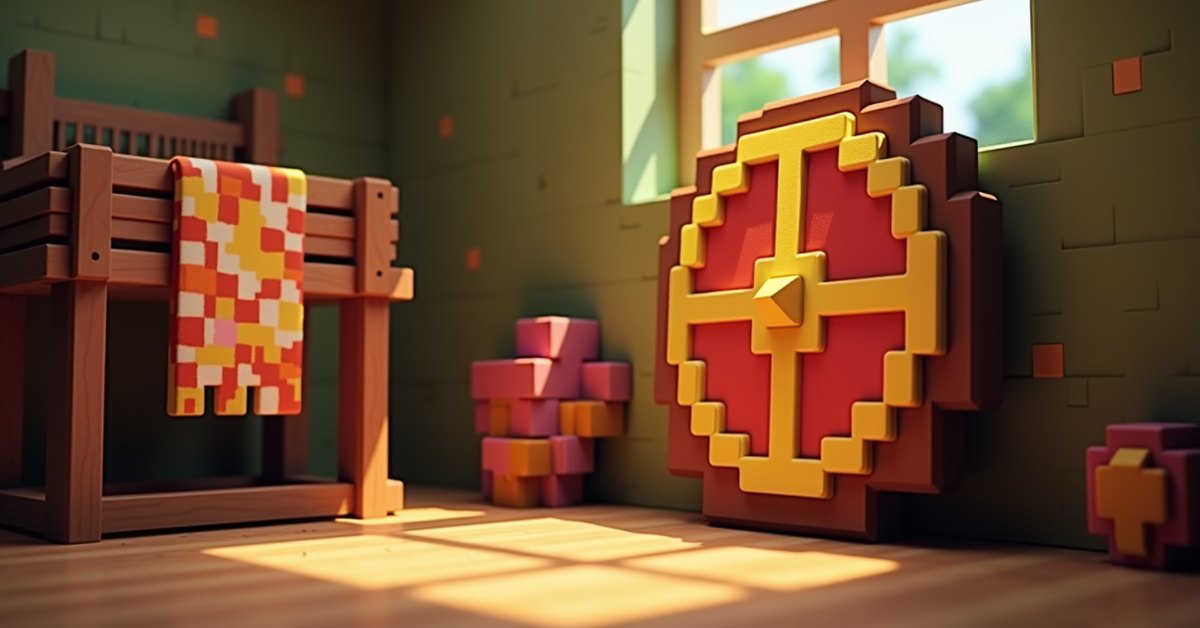
A shield pattern is the design that shows on the front of a shield in Minecraft. By default a shield is plain wood with an iron trim. Once you add a pattern, the shield carries a colored background and as many as six layers of shapes, the same way a banner does.
You don’t paint a design straight onto the shield. You build it on a banner first, usually with a loom, and then transfer that banner onto the shield in a crafting grid. That two-step process is what most players mean when they search for a shield pattern “loom template”: the loom is where the design gets made.
It helps to clear up one common mix-up before you start. A loom uses banner pattern items, which some players call loom templates. Those are not the same as smithing templates, the items used at a smithing table for netherite gear and armor trims. If the word “template” is what brought you here, you want banner patterns and the loom, not the smithing table.
What you need before you start
To put a custom design on a shield you need three things: a shield, a banner, and a loom to design the banner. None of them are hard to get.
A shield is crafted from six wood planks and one iron ingot. Put the iron ingot in the center of the crafting grid, fill the top row and the two middle side slots with planks, and place one plank in the bottom center. Any plank type works, and you can mix them.
A banner is crafted from six wool of a single color plus one stick. The wool color you pick becomes the banner’s base color, which in turn becomes the shield’s background color. If you want a red shield, start with a red banner.
A loom is crafted from two string and two wood planks, with the string on top. You can also find one as the shepherd’s job site block in villages. The loom is the station where you add pattern layers to a banner. You can decorate a shield with a plain, single-color banner and skip the loom entirely, but the loom is how you get any real design.
How to design a banner in the loom
Open the loom and you’ll see three input slots and an output slot. The top-left slot takes the banner, the slot below it takes a dye, and the third slot takes an optional banner pattern item. A list of available patterns appears once a banner and a dye are in place.
Adding a pattern layer
Put your banner in the banner slot and a dye in the dye slot. The loom shows a grid of pattern options: stripes, borders, crosses, triangles, circles, and more. Click the pattern you want and the preview updates. Pull the result out of the output slot and the layer is applied. The dye is used up.
Each loom use adds one layer in the dye color you chose. To build a design with several colors, repeat the process: feed the banner back in, pick a new dye, choose the next pattern. A banner can hold up to six layers on top of its base color, so there is room for fairly detailed work.
Layer order matters. Later layers sit on top of earlier ones, so a border added last will draw over a stripe added first. When a design isn’t coming out the way you pictured it, the usual fix is to change which layer goes down first.
Patterns that need a banner pattern item
Most loom patterns need only a dye. A handful of special ones also need a banner pattern item in the third slot. These are the items some players call loom templates.
Four of them are craftable. Combine paper with an oxeye daisy for the Flower Charge pattern, with a creeper head for the Creeper Charge, with a wither skeleton skull for the Skull Charge, or with an enchanted golden apple for the Mojang “Thing” pattern. Each banner pattern item is reusable, so one round of crafting gives you that pattern for good.
Other special patterns come from exploring rather than crafting. The Piglin snout pattern turns up in bastion remnant chests in the Nether. The Globe pattern is sold by wandering traders. The Flow and Guster patterns arrived with the 1.21 update and come from the vaults inside trial chambers. Place any of these in the loom’s third slot and the matching pattern becomes selectable.
How to apply the banner to a shield
Once the banner looks the way you want it, applying it to a shield takes a single step. Open a crafting table, or use the 2×2 grid in your inventory, and place the shield and the finished banner together in the grid. The output is a shield carrying the banner’s full design.
You don’t need a specific recipe shape. The shield and the banner just both need to be somewhere in the grid at the same time. The banner is consumed in the process, so if you want to keep the design on a banner as well, copy the banner first. You copy a banner by crafting the patterned banner together with a blank banner of the same base color, which gives you the original plus a matching copy.
The shield’s background takes on the banner’s base color, and every layer you added shows on the shield’s face. Raise the shield to block and the design is visible both to you and to other players.
Rules and limits to know
A shield can be decorated only once. After a shield has a pattern, the game won’t let you combine it with another banner, and there is no way to strip the pattern back off. To get a different design, craft a fresh shield and start over.
The banner does all the design work, so the six-layer cap belongs to the banner, not the shield. Get the banner exactly how you want it before you commit it to the shield, because there is no editing the shield afterward.
Decorated or plain, a shield never stacks in your inventory, and a pattern doesn’t change that. Each shield is a separate item with its own durability bar.
Tips and common mistakes
Plan the design around the shield’s shape. A shield’s face is taller than it is wide and slightly curved, so a pattern reads differently there than it does on a flat hanging banner. Bold, simple layers hold up better than busy detail.
If the loom won’t show the pattern you expect, check the third slot. Special patterns stay hidden until the matching banner pattern item is loaded. With only a banner and a dye in place, you see the standard set and nothing more.
If your shield and banner refuse to combine in the crafting grid, the shield almost certainly already has a pattern. A decorated shield can’t be re-decorated, so confirm the shield is plain before you try.
Copy the banner before you apply it. Players often build a design they love, put it on a shield, and only then realize they wanted a spare banner or a second matching shield. Make a copy while the banner still exists and that problem disappears.
Frequently asked questions
Can you put a pattern on a shield without a loom?
Yes, but only a solid color. A banner crafted from wool and a stick has a base color and no layers. Combine that plain banner with a shield and you get a shield in that single color. The loom is needed only when you want shapes and more than one color.
Can you remove or change a shield pattern?
No. A pattern is permanent once applied, and a shield accepts a banner only once. To change the look, craft a new shield and decorate that one instead.
Does a shield pattern affect blocking or durability?
No. Patterns are purely cosmetic. A decorated shield blocks the same damage and has the same 336 durability as a plain one.
How many layers can a shield show?
Up to six, the same limit as the banner it came from. The base color acts as the background, and you can stack six pattern layers on top of it.
Does shield patterning work the same in Bedrock?
Yes. The loom and the crafting step work the same way in Java and Bedrock Edition. You design the banner in a loom and combine it with a shield in a crafting grid. The menus look a little different between editions, but the process and the result match.
What is the difference between a banner pattern and a smithing template?
A banner pattern item goes in the loom to unlock a special banner design, which can then be moved onto a shield. A smithing template goes in a smithing table for netherite upgrades and armor trims. They share the word “template” in casual use but do completely different jobs.
Can you copy a shield’s design?
Not the shield itself. You can copy the banner by crafting it with a blank banner of the same base color, then apply each copy to its own shield. Make that copy before the banner gets used up on the first shield.
Getting the most out of it
The fastest route to a good-looking shield is to treat the banner as the real project. Spend your time in the loom, get the design right, copy the banner once as insurance, and only then bring it to the crafting table. The shield step takes seconds. The banner is where the work is.