What brewing is in Minecraft
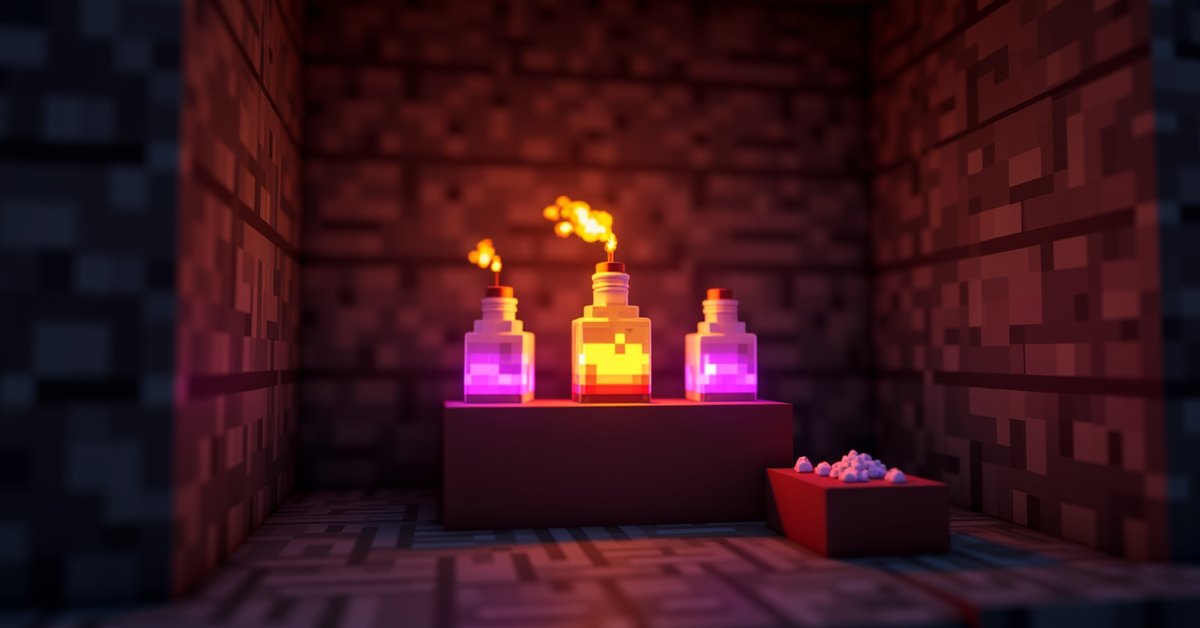
Brewing is how you turn plain water bottles into potions. It happens at a brewing stand, runs on blaze powder for fuel, and uses ingredients you collect across the Overworld and the Nether. Most potions follow the same path: fill a bottle with water, brew it into an awkward potion with nether wart, then add one more ingredient to decide what the potion actually does.
Once you understand that path, the whole system gets simple. There are only a handful of base steps, a list of ingredients that each map to one effect, and a few modifiers that change strength, length, or how the potion is thrown. This guide walks through all of it so you can brew anything from a quick Speed potion to a lingering cloud of Harming.
What you need to start brewing
Before you can brew a single potion, you need four things: a brewing stand, fuel, glass bottles, and water.
The brewing stand is crafted from three cobblestone (or blackstone) and one blaze rod. Blaze rods drop from blazes in Nether fortresses, so your first trip to the Nether is usually what unlocks potions. You can also find a brewing stand already placed inside igloo basements, end ships, and some village houses.
Fuel is blaze powder, made by putting a blaze rod in your crafting grid. Each piece of blaze powder powers 20 brewing operations, and it goes in the small slot on the left side of the stand. Bedrock and Java both require fuel, so don’t expect a stand to run on nothing.
Glass bottles are crafted from three glass. You fill them by right-clicking a water source or a water-filled cauldron. The stand brews up to three bottles at once, and brewing three at a time costs the same ingredients as brewing one, so always fill all three slots when you can.
The base potion: water to awkward
A water bottle on its own does nothing. To make it useful, you brew nether wart into it. The result is an awkward potion, which has no effect by itself but acts as the base for almost every positive potion in the game.
Nether wart grows on soul sand, usually found near stairways in Nether fortresses. Bring some home, plant it on soul sand, and you have a renewable supply. Skipping the awkward step is the most common brewing mistake new players make. If you add sugar straight to a water bottle, nothing happens. The water has to become an awkward potion first.
Three other base potions exist, but you can mostly ignore them. Redstone makes a mundane potion, glowstone makes a thick potion, and a fermented spider eye also makes a mundane potion. None of them lead anywhere useful on their own, so awkward is the base you want every time.
How a brew works, step by step
Every potion you make follows the same loop:
- Put blaze powder in the fuel slot.
- Place up to three water bottles in the three bottom slots.
- Add nether wart to the top ingredient slot and wait for it to finish. Now you have awkward potions.
- Add a primary ingredient (sugar, a ghast tear, magma cream, and so on) to brew the actual effect.
- Optional: add a modifier like redstone or glowstone to adjust the potion.
The ingredient is consumed once per brew, not once per bottle. One spider eye poisons all three bottles in the stand. That is why brewing in batches of three is the efficient way to play.
Ingredients and what they make
Each primary ingredient turns an awkward potion into a specific effect. Here is the full set you’ll use most:
| Ingredient | Potion | Effect |
|---|---|---|
| Sugar | Swiftness | Move faster |
| Rabbit’s foot | Leaping | Jump higher, less fall damage |
| Blaze powder | Strength | More melee damage |
| Glistering melon slice | Healing | Restore health instantly |
| Ghast tear | Regeneration | Heal over time |
| Spider eye | Poison | Damage over time |
| Magma cream | Fire Resistance | Immunity to fire and lava |
| Pufferfish | Water Breathing | Breathe underwater |
| Golden carrot | Night Vision | See in the dark |
| Phantom membrane | Slow Falling | Drift down, no fall damage |
| Turtle shell | Turtle Master | Slowness plus heavy Resistance |
The Turtle shell is itself crafted from five turtle scutes, which baby turtles drop when they grow up. Everything else on the list is a single item you can farm or trade for.
Modifiers: strength, length, and throwing
Once a potion has its effect, you can change how it behaves. Modifiers go in the same top slot you used for the primary ingredient.
Redstone dust: longer duration
Adding redstone dust extends how long the effect lasts. A potion of Swiftness that runs three minutes stretches to eight with redstone. It works on any potion that has a duration, but it does nothing for instant potions like Healing or Harming.
Glowstone dust: stronger effect
Glowstone dust bumps the potion up to level II. A Strength II potion adds more damage than Strength I, and an instant Healing II restores more health. The trade-off is duration: level II potions usually last a shorter time. You can’t use redstone and glowstone on the same potion, so you choose either longer or stronger, not both.
Gunpowder: splash potions
Gunpowder turns a normal potion into a splash potion you can throw. Splash potions break on impact and apply their effect to anything in the cloud, which makes them the standard way to heal teammates, hit mobs with Poison, or throw Harming at an enemy. Throwing a potion is also how you apply effects to mobs you can’t drink for.
Dragon’s breath: lingering potions
Add dragon’s breath to a splash potion and it becomes a lingering potion. Instead of a one-time splash, it leaves a cloud on the ground that keeps applying the effect for a few seconds. Lingering potions are also what you use to make tipped arrows: surround an arrow with a lingering potion in the crafting grid and the arrows carry that effect. Dragon’s breath is collected by scooping the ender dragon’s breath attack into an empty bottle.
The fermented spider eye: flipping potions negative
The fermented spider eye is the one ingredient that corrupts a potion instead of creating one. Brew it into an existing potion and it flips the effect to its opposite or a related debuff. Night Vision becomes Invisibility, Healing becomes Harming, Swiftness becomes Slowness, and Leaping becomes Slowness as well. Poison can be turned into Weakness through the same item.
This is how you reach effects that have no direct ingredient. There is no single item that brews Invisibility, for example. You brew Night Vision first, then add a fermented spider eye to flip it. Learning which potions corrupt into which debuffs is most of the depth in the brewing system.
Tips and common mistakes
A few things save time once you start brewing seriously. Always brew three bottles per cycle, since the cost is the same as one. Keep a stack of blaze powder and a soul sand nether wart farm so you never run dry on fuel or base material. Label or organize your potions in a chest, because a Healing splash and a Harming splash look almost identical in a hurry.
The mistakes that trip people up are usually order mistakes. You can’t add a primary ingredient before nether wart, you can’t make a potion stronger and longer at once, and you can’t add redstone to an instant potion and expect it to last. Brew the base, then the effect, then one modifier.
Java and Bedrock differences
The brewing system works the same way on both editions, with one small exception. On Bedrock, you can sometimes brew several different potions in the three slots and apply one ingredient to all of them, which Java handles slightly differently in the interface. The recipes, ingredients, and effects are identical across editions, so anything in this guide applies whether you play on PC, console, or mobile.
Frequently asked questions
Do brewing stands need fuel?
Yes. Every brew uses blaze powder in the left fuel slot. One blaze powder covers 20 operations, so a single piece lasts a while, but the stand will not brew at all without it.
Can I brew without going to the Nether?
Not really. Blaze rods for the stand and nether wart for the base potion both come from the Nether, and so do several ingredients like ghast tears and magma cream. You can find a pre-placed stand in an igloo basement, but you still need Nether materials to brew anything worthwhile.
Why is my potion doing nothing?
You probably skipped the awkward potion step. Adding an ingredient to a plain water bottle gives you a useless potion. Brew nether wart into the water first, then add your effect ingredient.
What does a fermented spider eye do?
It corrupts a potion into a negative or opposite version. It turns Night Vision into Invisibility, Healing into Harming, and Swiftness into Slowness, among others. It is the only way to brew several debuff potions.
How do I make a throwable potion?
Add gunpowder to a finished potion to make a splash potion you can throw. Add dragon’s breath on top of that to make a lingering potion that leaves an effect cloud.
Can I extend and strengthen the same potion?
No. Redstone makes a potion last longer and glowstone makes it more powerful, but they cancel each other out. Pick one per potion.
Where to go next
If you only memorize one thing, make it the core path: water, nether wart for an awkward potion, then one ingredient for the effect. Once that is automatic, the fermented spider eye and the splash and lingering modifiers open up the rest of the list. Set up a small nether wart farm early, and you will never be short on potions when you actually need them.