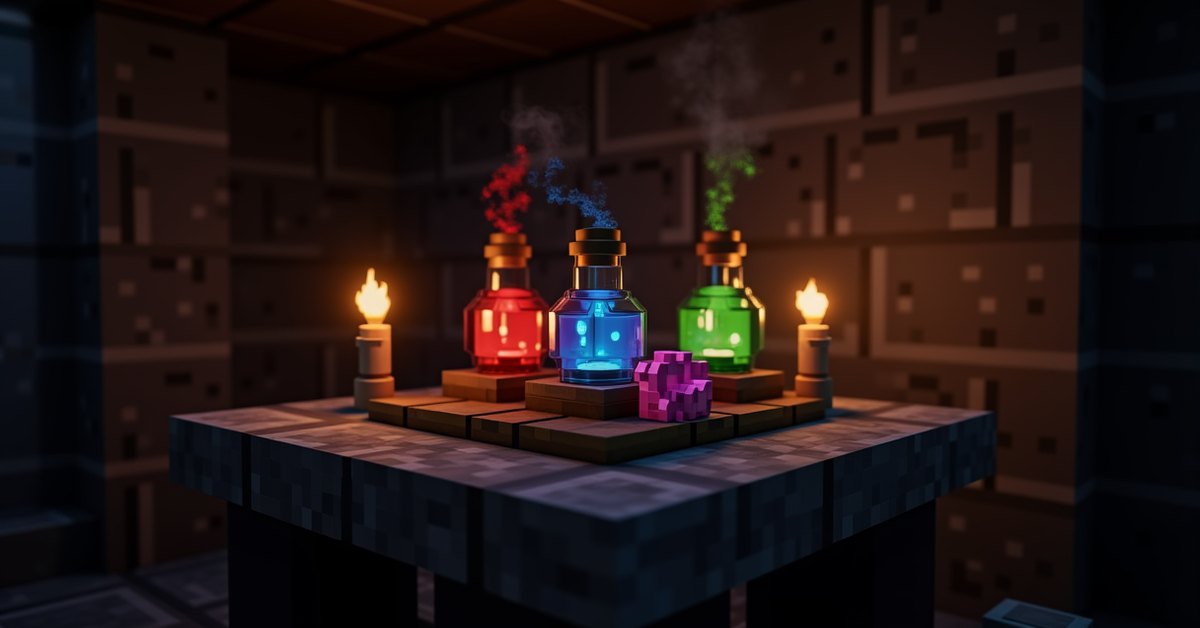
Potions are bottled effects you drink, throw, or pour to buff yourself or hurt mobs. A potion of healing patches you up mid-fight, fire resistance lets you swim in lava, and a thrown potion of harming can finish off a tough enemy. Every one of them comes out of the same place: a brewing stand.
This page is the hub for everything about potions in Minecraft. It covers the gear you need, the base potion almost everything starts from, the single ingredient that defines each potion, and the three modifiers that change strength, length, and delivery.
What you need to brew
Brewing happens at a brewing stand. You craft one from three cobblestone and one blaze rod, so you need at least one trip to a Nether fortress before you can start. Place the stand down and it shows three bottle slots at the bottom, one ingredient slot at the top, and a fuel slot on the left.
The fuel slot takes blaze powder. One piece of blaze powder powers 20 brewing operations, so a single blaze rod (which crafts into two blaze powder) goes a long way. You also need glass bottles. Craft them from three glass, then right-click a water source or a filled cauldron to make water bottles. You can brew up to three bottles at once, and brewing three costs the same fuel and ingredients as brewing one, so always fill all three slots.
The awkward potion: your starting point
Almost every useful potion begins as an awkward potion. You make it by brewing nether wart into a water bottle. On its own it does nothing, but it is the base that accepts effect ingredients.
Nether wart grows on soul sand, which you find in Nether fortresses and the soul sand valley biome. Grab a few and plant them at home so you never run dry. Two other useless bases exist, the mundane potion and the thick potion, and you only ever brew those by accident. If a potion does nothing when you drink it, you probably made one of those instead of an awkward potion.
Every potion and its ingredient
Once you have awkward potions in the stand, you add one ingredient to turn them into a real effect. Each potion is defined by a single ingredient.
| Potion | Ingredient | What it does |
|---|---|---|
| Healing | Glistering melon slice | Restores health instantly |
| Regeneration | Ghast tear | Heals over time |
| Strength | Blaze powder | Raises melee damage |
| Swiftness | Sugar | Increases walking and sprinting speed |
| Leaping | Rabbit’s foot | Higher jumps, less fall damage |
| Fire resistance | Magma cream | Blocks fire and lava damage |
| Water breathing | Pufferfish | Lets you breathe underwater |
| Night vision | Golden carrot | Full brightness in the dark |
| Poison | Spider eye | Damages over time, never kills |
| The turtle master | Turtle shell | Heavy resistance plus slowness |
| Slow falling | Phantom membrane | Drift down with no fall damage |
A few potions are made by corrupting another one rather than from a fresh ingredient. You make those with a fermented spider eye, covered in the next section.
Fermented spider eye: the corrupter
A fermented spider eye flips a potion into its opposite or a related negative effect. You craft it from a spider eye, sugar, and a brown mushroom. Add it to a finished potion and the effect changes:
- Healing becomes harming, which damages instantly instead of healing.
- Poison becomes harming as well.
- Swiftness becomes slowness.
- Leaping becomes slowness.
- Night vision becomes invisibility.
- A plain water bottle becomes weakness, useful for curing zombie villagers.
This is why the spider eye is worth keeping around even though raw spider eyes are mostly a trap to eat. Fermented spider eyes open up four effects you cannot brew any other way.
The three modifiers
After you have an effect potion, three more ingredients adjust it. These are the difference between a weak 1:30 potion and a brewing setup worth carrying into the End.
Redstone dust for longer duration
Redstone dust extends how long a potion lasts. A standard swiftness potion runs 3 minutes; redstone pushes it to 8. Use it on anything you want to set and forget, like night vision or fire resistance for a long mining trip.
Glowstone dust for stronger effect
Glowstone dust raises the potency to level II. A strength II potion adds more melee damage than strength I, and a healing II potion restores more health. The trade-off is that boosting potency usually shortens the duration, so you cannot stack redstone and glowstone on the same potion at once.
Gunpowder for splash potions
Gunpowder turns a drinkable potion into a splash potion you can throw. The bottle shatters where it lands and applies the effect to anything in the cloud, including you. Splash harming and splash poison are common combat tools, and a splash potion of healing is the fastest way to top off your health without opening the inventory.
Lingering potions and tipped arrows
Add dragon’s breath to a splash potion and it becomes a lingering potion. Throwing one leaves a cloud on the ground that keeps applying the effect for a few seconds, so anything that walks through it gets dosed repeatedly. You collect dragon’s breath by scooping the Ender Dragon’s breath attack into an empty bottle in the End.
Lingering potions also make tipped arrows. Surround one lingering potion with eight arrows on a crafting grid and you get eight arrows carrying that effect. A tipped arrow of harming or slowness lands a debuff from range, which is strong against players and tough mobs alike.
Positive and negative effects at a glance
Potions split into ones you drink and ones you throw at enemies. The helpful set covers healing, regeneration, strength, swiftness, leaping, fire resistance, water breathing, night vision, invisibility, the turtle master, and slow falling. The harmful set covers harming, poison, weakness, and slowness, and those are the ones you want in splash or tipped-arrow form so the cloud hits the mob and not you.
One quirk worth knowing: undead mobs like zombies and skeletons take damage from healing and get healed by harming, because their health logic is reversed. A splash potion of healing thrown at a skeleton hurts it.
Tips and common mistakes
Forgetting fuel is the most common slip. If the bubbles never start, check the blaze powder in the fuel slot. Brewing one bottle at a time wastes ingredients, so fill all three slots every time. Keep a small nether wart farm going, since running out mid-project means another fortress run. And label or color-code your storage, because a chest of unmarked potions all look nearly identical and you do not want to drink harming in a panic.
The ominous potions added in the 1.21 update (wind charging, weaving, oozing, and infestation) are not brewable at a stand. You find them as part of ominous events tied to trial chambers rather than mixing them yourself, so they sit outside the normal brewing flow described here.
Where potions matter most
A handful of potions carry their weight far more than the rest, and knowing which ones to stock saves you brewing time. Fire resistance is the single most useful potion in the game. It cancels fire and lava damage for its full duration, so you can swim through lava in the Nether, walk on magma blocks, and survive a blaze barrage. Most experienced players never enter the Nether without a few.
Healing and regeneration cover survival. A splash potion of healing is faster than eating during a fight because it skips the eating animation, while regeneration is better for slow, steady recovery after the danger passes. Strength stacks with a good weapon to drop melee kill times, and slow falling turns a deadly drop into a soft landing, which makes it handy in the End and on tall builds.
Water breathing and night vision are exploration tools rather than combat ones. Pair them for underwater work like raiding an ocean monument, where you need to see and breathe at the same time. Brew those two with redstone for the longest duration so a single bottle covers a full dive.
Frequently asked questions
How do I make a brewing stand?
Combine three cobblestone with one blaze rod on a crafting table. The blaze rod comes from killing blazes in a Nether fortress, so a fortress trip is the real prerequisite.
What is the base for most potions?
The awkward potion. You brew nether wart into a water bottle to make it, then add an effect ingredient. If a potion does nothing, you most likely brewed a mundane or thick potion by mistake.
Why does my potion do nothing when I drink it?
You probably skipped the nether wart step and brewed a mundane or thick potion, or you drank an awkward potion, which has no effect on its own. Start over with nether wart and a clear effect ingredient.
Can I make a potion last longer and stronger at the same time?
No. Redstone dust extends duration and glowstone dust raises potency, but a single potion can only take one of them. You pick length or strength, not both.
What is the difference between splash and lingering potions?
A splash potion applies its effect once where it shatters. A lingering potion leaves a cloud that keeps applying the effect for several seconds. Lingering potions also craft into tipped arrows.
How do I make tipped arrows?
Place one lingering potion in the center of the crafting grid and surround it with eight arrows. You get eight arrows carrying that potion’s effect.
Once you have a brewing stand running and a small nether wart farm, the whole system opens up fast. Pick the two or three potions you actually use, fire resistance, healing, and strength for most players, and keep a stack of each ready before any big trip.