What buttons are in Minecraft
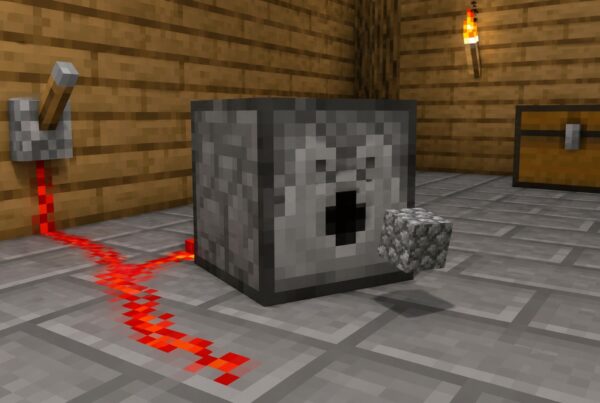
A button is a small redstone input block. Press it, and it sends a short burst of full-strength redstone power to whatever it’s attached to, then pops back out on its own. That brief pulse is the whole job. Use a button whenever you want a one-tap trigger: opening an iron door, firing a dispenser, launching a piston, lighting a redstone lamp for a moment, or kicking off any circuit that needs a single jolt.
Buttons come in two material families: wood and stone. Both produce the same maximum-strength signal, but the timing and the projectile behavior differ. Both live in the Redstone tab in the creative inventory. Wooden buttons stack to 64. Stone buttons stack to 64. There’s no durability and no maintenance; once placed, a button stays on its surface until you mine it.
Every button variant
There are more button types than most builders realize. Every plank type makes its own wooden button, and there are two stone-type buttons.
The wooden buttons are oak, spruce, birch, jungle, acacia, dark oak, mangrove, cherry, pale oak, crimson, and warped. Bamboo also makes a button, even though bamboo isn’t technically wood. The Nether-themed crimson and warped buttons are crafted from their respective planks. They behave like other wooden buttons (so projectiles trigger them) even though their wood comes from the Nether.
The stone buttons are the standard stone button and the polished blackstone button. Both behave the same as each other. Their textures and recipes differ, and each fits a different build palette. Stone buttons match cobble and stone-brick castles. Polished blackstone buttons match Nether-themed bastions and dark builds.
Each button has its own item ID. The Java IDs follow the pattern minecraft:oak_button, minecraft:bamboo_button, minecraft:stone_button, and minecraft:polished_blackstone_button. Use these with /give or /setblock for command-block setups.
How to craft a button
The recipe for any button is one block of the matching material in the crafting grid. The slot doesn’t matter, and you don’t need a full crafting table for wooden buttons because you can craft them in your inventory’s 2×2 grid.
To craft a wooden button, place one plank of any type in any slot of a crafting grid. You get one button per plank. The button matches the wood: oak planks make oak buttons, mangrove planks make mangrove buttons, bamboo planks make bamboo buttons, and so on for every variant.
To craft a stone button, place one stone block in any slot of the crafting grid. The single-ingredient recipe means you’ll usually craft these at a crafting table. Polished blackstone buttons follow the same pattern: one polished blackstone in the grid yields one button.
Buttons can’t be smelted, brewed, traded by villagers, or fished from water. Crafting is the only way to make them. They aren’t found as loot in chests either, so plan to craft a few before any redstone build.
Where you can place a button
Buttons attach to any full solid face of a block. That means the top, the bottom, or any of the four side faces. A ceiling button works exactly like a wall button: walk under it, look up, and press use.
You cannot place a button on glass that doesn’t present a solid face on the side you’re aiming at, on slabs in the wrong orientation, on stairs at certain angles, or on most partial blocks like fences and walls. If the surface isn’t a complete cube face, the placement may fail. The game tells you fast: the button either snaps on or doesn’t appear at all.
Buttons can’t be waterlogged. Place one inside flowing or still water and the water gets pushed out of the block space the button now occupies. If you want a button surrounded by water, place the water against a neighboring block instead.
Buttons don’t block movement. You can walk through one with no collision, even when it’s pressed. That makes them safe in narrow corridors and tight builds.
How buttons work as redstone
A pressed button outputs a redstone signal of strength 15, the maximum. That signal goes into the block the button is attached to and into any redstone component touching that block: dust, repeater, comparator, lamp, piston, dispenser, and so on. The button does not power redstone dust on a non-attached side, so think about which face of the host block the button sits on before you wire anything.
Each button stays pressed for a fixed number of game ticks before it pops back out:
- Wooden buttons (including bamboo, crimson, and warped): 30 game ticks, which is 1.5 seconds at normal speed.
- Stone and polished blackstone buttons: 20 game ticks, which is 1 second at normal speed.
That half-second is the practical difference between the families. Use wooden buttons for slightly longer pulses (handy for opening a door long enough to walk through). Use stone buttons for tighter timings or when you want the circuit to reset faster.
The pulse cannot be shortened by tapping the button repeatedly while it’s still pressed. The first press starts the timer. The second press is ignored until the button pops out. If you need an even shorter pulse, use a redstone repeater set to its minimum delay or a comparator-based circuit, not a button alone.
What can press a button
Players can press any button by interacting with it: right-click on Java, tap on Bedrock and mobile. That works for wooden and stone buttons in any game mode.
Beyond direct player presses, the rules split:
- Wooden buttons (including bamboo, crimson, and warped) can be pressed by arrows, tridents, and other projectiles that physically hit them. A player or skeleton firing an arrow into a wooden button activates it for the same 1.5 seconds.
- Stone and polished blackstone buttons ignore projectiles. Arrows bounce off without triggering them. Only direct player interaction works.
Mobs do not press buttons in either edition. A villager won’t open an iron door by pressing a button, and a zombie won’t press a button to break in. If you want a redstone input mobs can step on, use a pressure plate.
The projectile rule on wooden buttons opens up a few clever designs. A wooden button on a wall can act as a remote trigger across a hallway when you fire an arrow at it. A wooden button placed inside an arrow trap setup can fire dispensers, doors, or pistons when an arrow lands on it. Stone buttons can’t do any of that, which is sometimes the feature you want.
Mining and breaking buttons
Buttons have a hardness of 0.5 and break in a fraction of a second by hand. You don’t need a tool, and the tool you use doesn’t change the drop rate. Breaking a button always returns the button itself; there’s no silk-touch or fortune behavior to worry about.
Water and lava don’t destroy buttons attached to a wall, but if the block a button is mounted on gets removed, the button pops off as an item. That makes buttons safe to hide inside walls: as long as the wall stays, the button stays.
Buttons can also be broken by an explosion. The blast radius destroys the button along with whatever it was attached to. If you’re building a redstone room near TNT or creepers, plan for that.
Common uses for buttons
Buttons cover a wide range of redstone roles:
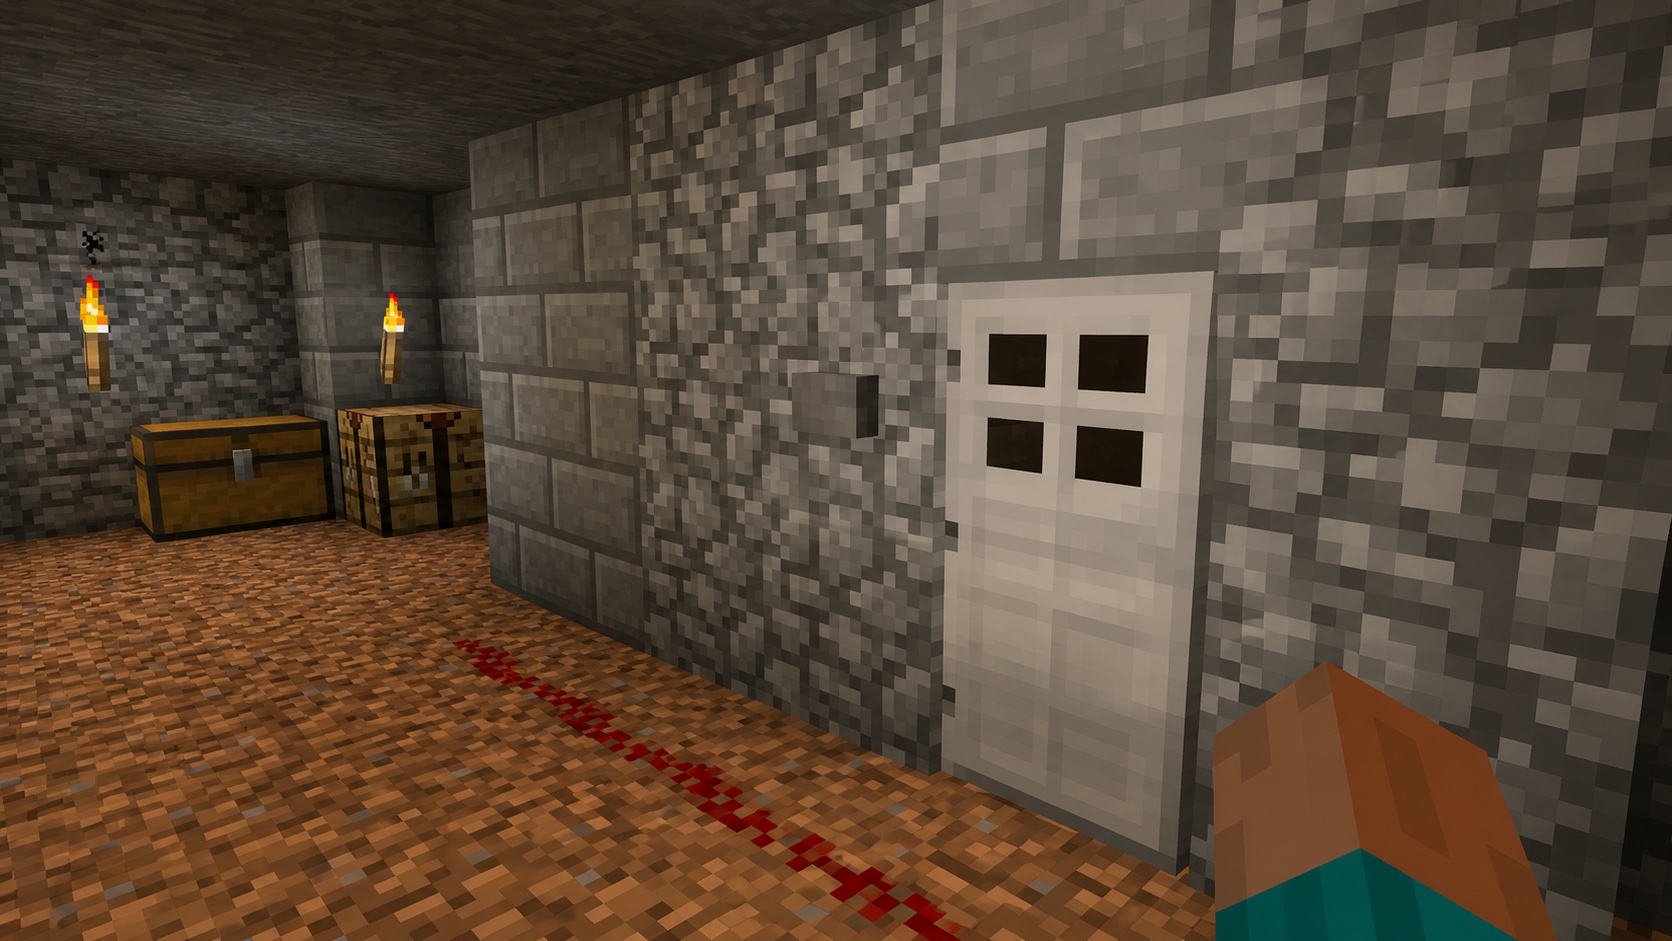
- Iron doors and trapdoors. A button next to an iron door is the simplest manual opener. Iron doors don’t open by hand, so a button or pressure plate or lever is required.
- Dispensers and droppers. A button gives one quick fire-and-stop pulse, useful for fireworks launchers and one-shot item dispensers.
- Pistons. A button extends a piston for the pulse duration, then retracts it. Good for hidden entrances and short-action contraptions.
- Note blocks. A button connected to a note block plays a single note. String many together for a tune.
- Redstone lamps. Tap a button to light a redstone lamp for the pulse, useful for adventure maps and event triggers.
- Signal generators. Use a button as the player-facing input to a more complex circuit when you want a person to start the action.
Buttons are also one of the most popular ways to disguise a control as a wall fixture. A polished blackstone button on a stone-brick wall reads as a small fixture, not an obvious switch. Builders use this for hidden entrances, mansion puzzles, and adventure maps where the player has to find the trigger.
Tips and common mistakes
A few details trip up new redstone builders:
- If your arrow trigger won’t fire, check whether you used a stone button. Switch to a wooden button so the projectile registers.
- Don’t expect a button’s signal to travel two blocks through air. Redstone power from a button transfers to the attached block and to components touching it. Use redstone dust, a repeater, or a comparator to extend the signal.
- If you want a switch that stays on, use a lever, not a button. Buttons always pop out.
- If the door connected to your button keeps opening and closing on its own, check for nearby pistons, observers, or other buttons that might be cycling power into the same block.
- Stone and polished blackstone buttons look almost identical against grey blocks. Place one and check the texture from a few angles before placing dozens.
- Buttons can’t sit on the side of a fence or a wall. If you need a control on a fenced area, attach the button to a solid block built into the fence line.
- Avoid placing two buttons on the same block face. Only one will be visible, and the second placement will replace the first.
Java vs. Bedrock differences
Buttons behave the same in both editions for almost every case. Wooden buttons take projectiles in both editions, stone buttons reject them in both editions, and the pulse durations match. Recipes are identical, IDs are identical, and they appear in the same Redstone creative tab.
The differences are minor. Pressed-state animation reads slightly differently across renderers, and in multiplayer the visual pop-back may lag for players with high ping while the server still processes the pulse on time. For practical play, treat buttons as the same block in both versions.
Frequently asked questions
How long does a button stay pressed?
A wooden or bamboo button stays pressed for 1.5 seconds (30 game ticks). A stone or polished blackstone button stays pressed for 1 second (20 game ticks). Both deliver a redstone signal of strength 15 for the full duration.
Can arrows press buttons?
Arrows can press wooden buttons, including bamboo, crimson, and warped. Arrows cannot press stone or polished blackstone buttons. The same rule applies to tridents and other projectiles.
Can mobs press buttons?
No. Mobs walk past, into, or away from buttons but never trigger them. If you want a redstone input that mobs can activate, use a pressure plate.
Can a button be waterlogged?
No. Placing a button in a water source pushes the water out of that block space. Use a waterlogged block in the adjacent space if you want both effects in the same area.
What’s the strongest button signal?
All buttons output a redstone signal of strength 15, the maximum. There’s no weak versus strong distinction across button types.
Can I place a button on the ceiling?
Yes. Buttons attach to the underside of any solid full block. Aim at the bottom face of the block above and place the button as you would on a wall.
Why won’t my button stick to glass?
Glass and other transparent or partial blocks don’t always present a solid face for attachment. If a button refuses to snap on, attach it to a solid stone, wood, or full-cube block beside the glass instead.
Can I shorten a button’s pulse?
Not directly. The button’s timer is fixed once pressed. To shape a shorter pulse, run the button’s signal through a redstone circuit (a comparator subtraction loop or a fast repeater chain) to clip the output to fewer ticks.
The bottom line
Buttons are the cheapest, smallest manual input in redstone. Pick wood (or bamboo) when you want projectile triggers or a 1.5-second pulse. Pick stone or polished blackstone when you want only player input or a tighter 1-second pulse. Place them anywhere a full face of a solid block exists, and use them as the spark for whatever circuit you’re building.