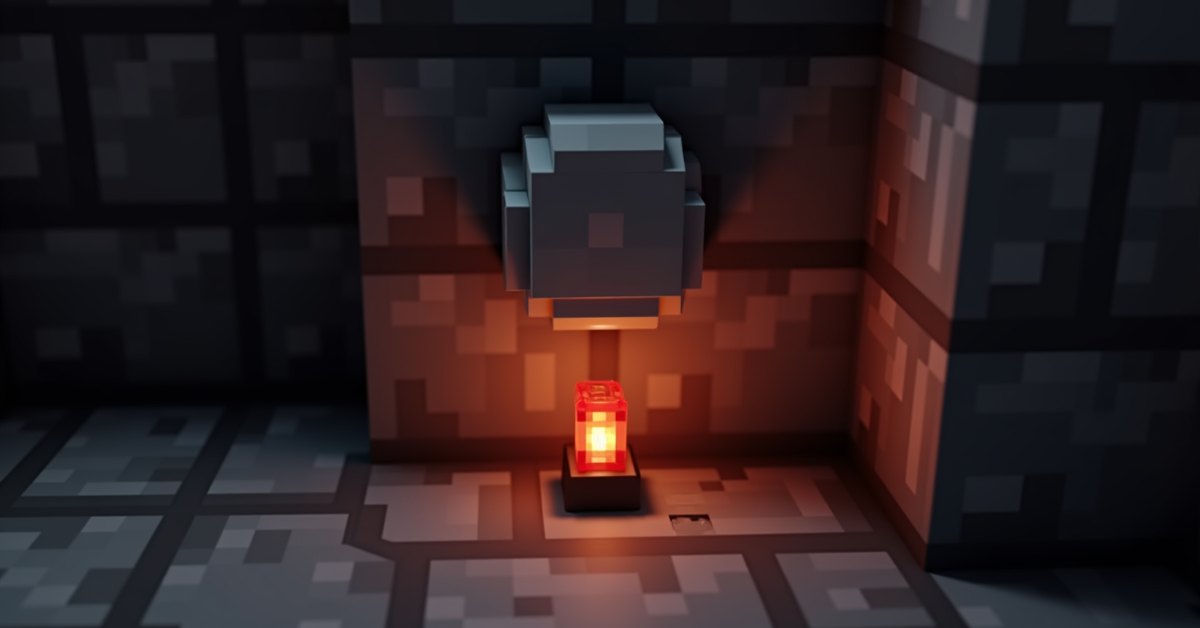
What is a stone button in Minecraft?
A stone button is a small redstone component you press to send a one-second pulse of redstone power. It’s the stone version of a button, made from a single block of stone, and it sits flat against any solid surface like a tiny gray tile.
The thing that makes the stone button useful is what it doesn’t do. Unlike a wood button, it can’t be triggered by arrows or other projectiles. Only a player can press it. That makes it the right choice anywhere you want a manual switch that won’t get tripped by a stray arrow or thrown item.
If you’ve ever built an iron door, set up a hidden entrance, or wired a dispenser, you’ve probably reached for a stone button at some point. It’s the workhorse switch of redstone.
How to craft a stone button
The recipe is the simplest in the game: one block of stone in any crafting grid square gives you one stone button.
- Open a crafting table or your 2×2 inventory grid.
- Place one stone block in any slot.
- Take the stone button from the output.
You only get one button per stone block, so the recipe isn’t efficient for bulk production. If you need dozens of buttons for redstone work, stockpile cobblestone first, smelt it into stone in a furnace, and craft as you go.
The recipe needs stone, not cobblestone, smooth stone, or any other stone-family block. Cobblestone in the crafting grid won’t produce a button. Smooth stone won’t either. Only the regular gray stone block that comes out of a furnace works.
One small workflow tip: you can also pick up unbroken stone with a Silk Touch pickaxe. That skips the furnace step entirely if you have the enchantment handy.
How to place a stone button
You can place a stone button on the side, top, or bottom of most solid blocks. Aim at the face of a block where you want the button to sit, then right-click (or use the interact button on console and Bedrock).
The button orients itself based on the face you clicked. Click the side of a block and the button hangs vertically on that side. Click the top of a block and the button sits flat on top, pointing up. Click the bottom of a block and the button hangs from the underside.
Stone buttons can also be placed on the flat side of stairs and on the top of slabs, which is useful for control panels and recessed switches. They can’t be placed on glass panes, iron bars, fences, or leaves, because buttons need a full solid face to attach to.
If a button refuses to place where you expect, the surface is the problem nine times out of ten. Drop a solid block in first, attach the button, and dress the rest of the wall around it.
How a stone button works
When you press a stone button, it does three things at once:
- Outputs a redstone signal of strength 15, which is the maximum any source can give.
- Powers the block it’s attached to, plus any redstone wire or component touching that block.
- Stays pressed for exactly 1 second (10 game ticks), then pops back out.
That 1-second pulse is the spec to remember. It’s long enough to fire a piston or open an iron door, but short enough that it won’t keep a circuit on indefinitely. If you want a longer signal, run the pulse through a repeater chain or feed it into a redstone latch.
While the button is pressed, anything directly powered by it stays on. The instant the second is up, the signal drops to 0 and the powered device turns off. There’s no fade and no delay.
You can’t stack presses. Pressing a stone button while it’s already pressed has no effect and doesn’t extend the duration. The pulse runs out at 10 ticks from the original press, not from the last interaction. If you mash the button five times in a second, you still only get a single 1-second pulse.
The button only powers the block it’s attached to. That means if you want the redstone signal to travel any further, you need redstone dust running from the attached block. Dust can carry the signal up to 15 blocks before it needs a repeater to refresh.
Stone button vs. wood button
The two button families look similar, but they behave differently in two important ways.
| Property | Stone button | Wood button |
|---|---|---|
| Pulse duration | 1 second (10 ticks) | 1.5 seconds (15 ticks) |
| Triggered by player right-click | Yes | Yes |
| Triggered by arrows or projectiles | No | Yes |
| Crafting material | 1 stone block | 1 plank of any wood |
That third row is the practical difference. If you set up a target range with wood buttons, you can shoot arrows at them to trigger a redstone circuit. With stone buttons, the arrow does nothing.
Use stone buttons when you want a deliberate, manual switch. Use wood buttons when you want something that fires on impact, like an arrow-triggered trap or a hands-free door for a parkour course.
The polished blackstone button, added with the Nether Update, behaves identically to the stone button. It’s the only other stone-family button, and it’s a good pick if you want the same behavior with a darker look for nether or castle builds.
Common uses for stone buttons
Stone buttons show up in nearly every redstone build because the short pulse is easy to wire up and the player-only activation keeps things predictable. A few practical jobs they’re suited for:
- Iron doors and trap doors. Iron doors don’t open on click, so you need a redstone signal. A stone button next to one is the standard solution. Put one button inside and one outside, and the door works from both sides.
- Piston traps. A button on the wall of a corridor, wired to a row of pistons, makes a quick crush trap or a wall-launch. The 1-second pulse fires the pistons once and lets them retract on their own.
- Hidden entrances. A button tucked behind a painting or inside a torch alcove is a clean way to open a secret room. The player presses, the door opens, and the circuit resets itself.
- Note block triggers. Wire a button to a note block for a doorbell that plays exactly one note. Stack several note blocks behind one button for a small chord.
- Dispenser activation. Press the button to fire a single shot from a dispenser loaded with arrows or splash potions. Great for quick-fire defenses.
- Lighting controls. Pair a button with a redstone lamp for a guest-friendly light switch that turns off on its own.
The 1-second pulse is short, so for any device that needs a longer ON state, the standard pattern is button into a repeater into a redstone latch. The latch holds the signal until you reset it. That’s the building block behind most “press once to toggle” doors and lights.
Tips and common mistakes
The biggest stone button mistake is using one where a wood button belongs. If your design relies on an arrow or a thrown item triggering the circuit, a stone button will never fire. Swap it for any wood variant and the circuit comes alive.
The second most common issue is placement. A stone button looks like a fine candidate for a glass wall, but it won’t attach to glass panes or iron bars. Place a solid block first, attach the button to that, and hide the block with other decoration if you need a clean look.
If you need a button that sits flush with the surface in survival builds, remember that you can put it on top of a slab. The button sits on the half-block surface and looks recessed, which works well for control panels and counter-mounted switches.
Stone buttons mine instantly with any tool or bare hands, and they drop themselves. You can’t lose a button by mining it the wrong way, which makes them safe to reposition while you’re iterating on a build.
One last thing: don’t use a stone button as decoration if you don’t want guests pressing it. Anyone walking by will try it. If you need a fake switch, place a lever in the off position behind a barrier instead.
Java vs. Bedrock differences
The mechanics are the same in both editions: 1-second pulse, player-only activation, no arrow trigger, same crafting recipe. The only difference is the input method. On Java you right-click. On Bedrock and consoles you use the interact button (tap on touch, the LT or L2 trigger on controllers).
One small note for Bedrock players: the touch-tap input works the same as a right-click for buttons, so there’s no functional gap between editions. A build that uses stone buttons on Java will work identically on Bedrock.
Frequently asked questions
Can you make a stone button from cobblestone?
No. The recipe needs the smooth gray stone block that comes out of a furnace. Cobblestone in the crafting grid won’t produce a button. Smelt the cobblestone first, then craft.
Can arrows press a stone button?
No. Stone buttons ignore all projectiles, including arrows, snowballs, eggs, and tridents. If you want an arrow-triggered switch, use a wood button or a target block.
How long does a stone button stay pressed?
Exactly 1 second, which is 10 game ticks (20 ticks per second, and the button uses half of that). Wood buttons stay pressed for 1.5 seconds, or 15 ticks.
Can mobs activate a stone button?
No. Mobs cannot press buttons of either type. Buttons require an interact action, which only players perform. If you need a mob-triggered switch, use a pressure plate or a tripwire instead.
Will a stone button power blocks two spaces away?
The button itself only powers the block it’s attached to. To carry the signal further, run redstone dust away from the attached block. The dust can travel up to 15 blocks before it needs a repeater to refresh the signal.
Can you place a stone button on a fence or glass pane?
No. Buttons need a full solid face to attach to. Solid glass blocks (the cube version) work; glass panes do not. Fences, iron bars, and leaves don’t work either.
Is there a polished stone button?
No. Smooth stone, polished granite, polished diorite, and polished andesite can’t be crafted into buttons. The two stone-family options are the stone button and the polished blackstone button.
Can a stone button stack?
Yes. Stone buttons stack up to 64 per slot in your inventory, which makes carrying a stack for redstone work easy.
Stone buttons are the right pick whenever your circuit should only respond to a deliberate press. Reach for wood when you want projectiles to count; reach for stone when you don’t.